| NOTE : Products without SAM nor contact slot (like Prox’N’Roll) could be used with Microsoft’s CCID driver (shipped with Windows or available on Windows Update). Only our driver gives access to the SAM or contact slots of the other products. |
Please unplug any PC/SC reader from your computer before starting this procedure.
First, download our driver from our main website:
Then, install the downloaded driver. When executing the installation file sdd480-xx.exe file, if you have a Security Warning pop up, simply click “Run”:

The installation of the driver is starting, click on “Next” on the following windows:


The files are installing on your computer:

Once the files have installed, the installation of the driver is done. Click on the “Finish” button:


Now plug in your PC/SC reader. You should see an icon in the bottom right corner of your screen:


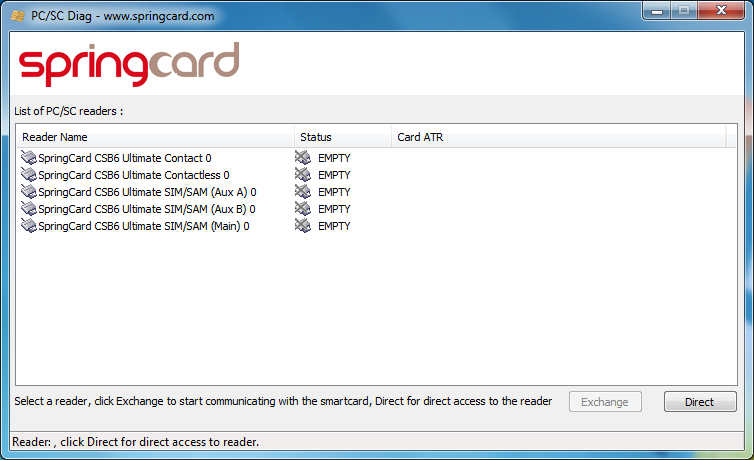
To check that the reader has been correctly installed, run PC/SC Diag available in our PC/SC SDK:

APPENDIX
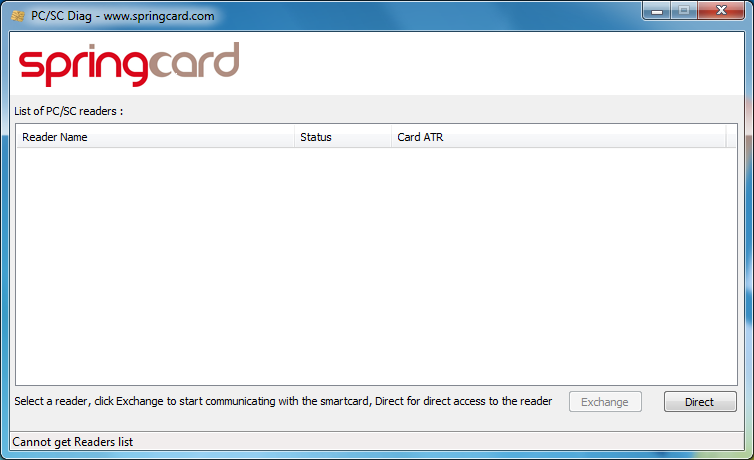
If you don’t see anything in PC/SC Diag, even after doing this procedure, your Smart Card Service might be disabled.

In that case, go to the Control Panel of your computer, and look for “Services” under the “Administrative Tool” section.

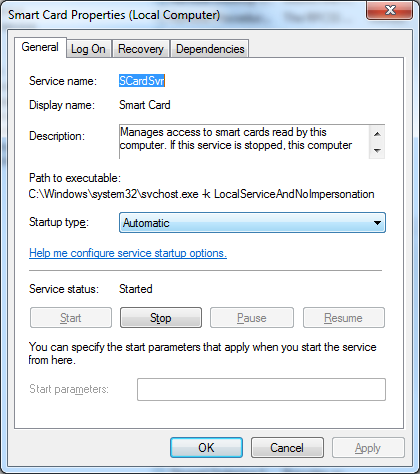
If the “Startup Type” (4th Column) of the Smart Card service is set to “Disabled” , right click and open the “Properties” window of the Smart Card service:

Set startup type as “Automatic”. If “Service status” is set to “Stopped”, click on the “Start” button and wait until the Service status is set to “Start” (as shown on picture above).